
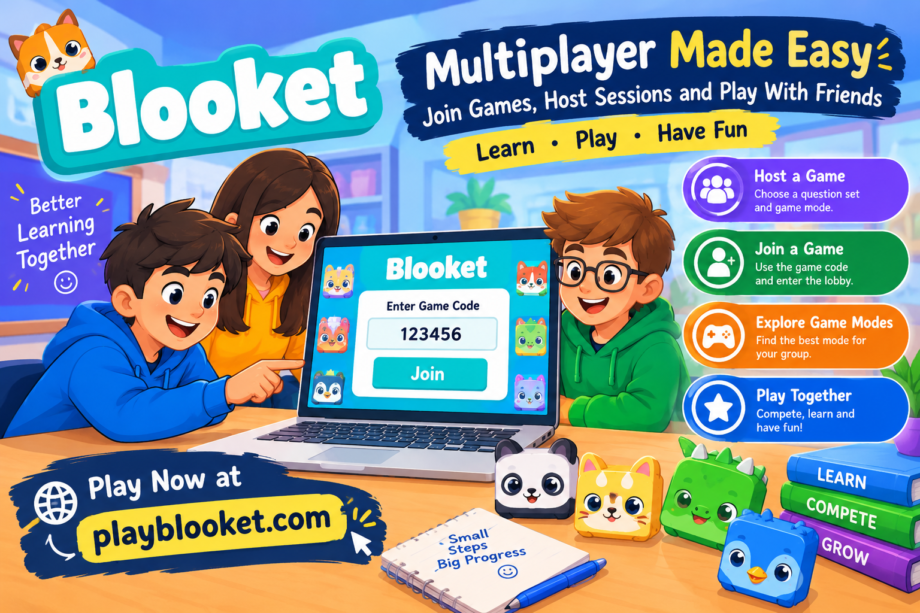
Learning with a group does not have to feel like another ordinary classroom activity. When a quiz turns into a game, students often become more interested in answering questions, competing with classmates, and seeing how well they can perform. That is one reason Blooket has become a popular choice for interactive learning.
Whether you are a teacher preparing a classroom review or a group of friends looking for something fun to play together, Blooket multiplayer gives you several ways to turn questions into a shared game. The process is fairly simple once you know where to start.
This guide explains how blooket join works, how hosts create games, how players enter sessions, and what to expect from different game modes.
What Is Blooket Multiplayer?
Blooket is a quiz-based learning platform that combines questions with game mechanics. Instead of simply displaying a list of questions and collecting answers, it places players inside a game where their answers can affect their progress.
A multiplayer session normally has one person acting as the host while everyone else joins as a player. The host chooses a question set and a game mode, then shares the information needed for other players to enter.
For students, blooket join provides a straightforward way to enter a live game without needing to create a complicated setup. Once everyone is inside the lobby, the host can begin the session.
The platform can work particularly well for classroom review, study groups, family activities, or casual games with friends.
How to Host a Blooket Game
Hosting is usually the first step when you want to play Blooket with a group. The host controls the game and decides which question set and mode will be used.
1. Open Blooket
Start by visiting the Blooket website and signing into your account if required. From the main dashboard, look for the option to discover or select a question set.
You can use an existing set or create your own questions if you want the game to match a particular subject.
2. Select a Question Set
The questions are the foundation of the game, so choose a set that fits your players.
For a classroom, you might select questions related to a recent lesson, vocabulary, mathematics, science, or history. For friends, you could use general knowledge or another topic everyone understands.
3. Choose a Game Mode
After selecting your questions, choose one of the available game modes. Different modes can change the way players earn points, collect resources, or compete against one another.
Some modes are more focused on individual progress, while others create a stronger competitive atmosphere.
Before starting, check the available settings so the game matches the size and experience level of your group.
4. Start the Game
Once the game is ready, start the live session. Blooket will provide the information players need to enter.
This is where the blooket join process becomes important. The host should share the displayed game information with everyone who wants to participate.
You can put the code on a classroom screen, send it to friends, or share it through whatever communication method your group normally uses.
How Players Join a Blooket Game
Joining a live game is generally much easier than hosting one.
First, open the Blooket join page or follow the joining instructions provided by the host. Enter the game code supplied by the person running the session.
You may then be asked to enter a nickname. Choose something your host can recognize. In a classroom, using your usual name or an agreed nickname can prevent confusion when several players enter at the same time.
After entering the required information, continue into the lobby.
If the blooket join screen does not work immediately, double-check the game code. A single incorrect number or letter can prevent you from entering the correct session.
It is also worth checking that you are using the current game information. Live codes are connected to particular sessions, so an old code may no longer work.
What Happens After You Join?
Once you successfully enter, you should see the game lobby or waiting area. At this point, you normally wait for the host to begin.
Do not close the page while waiting unless you have a reason to do so. If you leave and return, you may have to repeat the joining process.
When the host starts the game, questions will appear according to the selected game mode.
The interesting part is that answering questions is only one piece of the experience. Depending on the mode, your answers can help you earn points, collect items, build resources, or improve your position.
That combination makes the activity feel different from a traditional quiz.
Choosing the Right Game Mode
One of Blooket’s strengths is its variety of game modes. The best choice depends on the group and the type of activity you are planning.
For Classroom Review
Teachers may want a mode that keeps students answering questions regularly without making the rules unnecessarily complicated.
A familiar mode can be helpful when students are using Blooket for the first time. Once everyone understands the basic process, you can experiment with other options.
For Friendly Competition
If your group already knows how Blooket works, choose a mode with more competitive elements. These modes can make a casual quiz feel more like a game night.
Keep in mind that some players enjoy competition more than others. For younger students especially, it can help to remind everyone that the purpose is participation and learning rather than simply finishing first.
For Longer Sessions
If you are planning a longer activity, consider a mode that provides enough variety to keep players interested.
Changing question sets or game modes between rounds can also prevent the session from becoming repetitive.
Tips for a Smooth Multiplayer Game
A little preparation can make the difference between a smooth session and a room full of people asking why they cannot connect.
Check the code before sharing it.
The host should make sure players receive the correct live game information.
Give everyone time to enter.
Starting immediately can leave slower players outside the game.
Use recognizable nicknames.
Teachers can ask students to use their first names or classroom usernames. Friends can agree on names before beginning.
Test the game before a large session.
If you are hosting for the first time, try a short game before using the platform with a large group.
Keep the questions appropriate.
For classroom activities, make sure the selected question set matches the students’ age and lesson.
Have a backup plan.
Internet connections can fail. If someone cannot access the game, having another activity ready keeps the session moving.
Common Problems When Joining
Sometimes players follow the blooket join instructions but still cannot enter the game. Several simple issues may be responsible.
The first possibility is an incorrect game code. Ask the host to confirm the code instead of repeatedly entering the same information.
Another issue can be the browser. Refreshing the page or reopening the joining screen may resolve a temporary loading problem.
If the host has already ended the session, the joining information may no longer be useful. In that situation, you will need the host to create or start another game.
A weak internet connection can also cause problems. If the page keeps loading without entering the game, checking your connection may help.
For classroom sessions, it is also useful for the teacher to make sure students are all joining the same live session rather than accidentally opening an unrelated game.
Blooket for Friends vs. Classrooms
Although Blooket is strongly associated with educational activities, multiplayer games do not have to be limited to school.
Friends can use quiz sets for trivia nights, informal competitions, or quick challenges. The host can choose a topic that everyone enjoys and let the game provide the competitive element.
In a classroom, however, the host usually has a clearer learning objective. A teacher might use a Blooket session at the end of a lesson to review important concepts or identify areas where students need additional practice.
The basic blooket join process remains similar in both situations. The main difference is the purpose of the game and the question content.
How to Make Your First Game More Fun
A successful multiplayer session is not necessarily the one with the most complicated rules. Simple preparation often works better.
Start with a question set that your players can understand. Explain the joining process before everyone begins. If the group has never played before, spend a minute explaining what they should do once the game starts.
You can also create several short rounds instead of one very long game. This gives players opportunities to reset and keeps the activity moving.
For teachers, consider mixing easy and challenging questions. Too many difficult questions can frustrate students, while an entire game of extremely easy questions may become boring.
For friends, try different topics and modes until you discover what your group enjoys most.
Final Thoughts
Blooket multiplayer is relatively easy to set up once you understand the roles of the host and players. The host chooses the questions and game mode, starts the session, and shares the required joining information. Players simply use that information to enter the live game and wait for the host to begin.
If you are new to blooket join, start with a short game and a familiar question set. That gives everyone an opportunity to understand the process without turning the first session into a complicated event.
Once your group becomes comfortable, experiment with different game modes and question sets. A classroom review can become more interactive, while a simple gathering with friends can turn into a surprisingly competitive trivia session.
The biggest advantage is the combination of learning and gameplay. Instead of answering questions in isolation, players participate in a shared activity where every answer can affect what happens next. With a little preparation, Blooket can become an easy way to bring a group together for learning, competition, and fun.
