
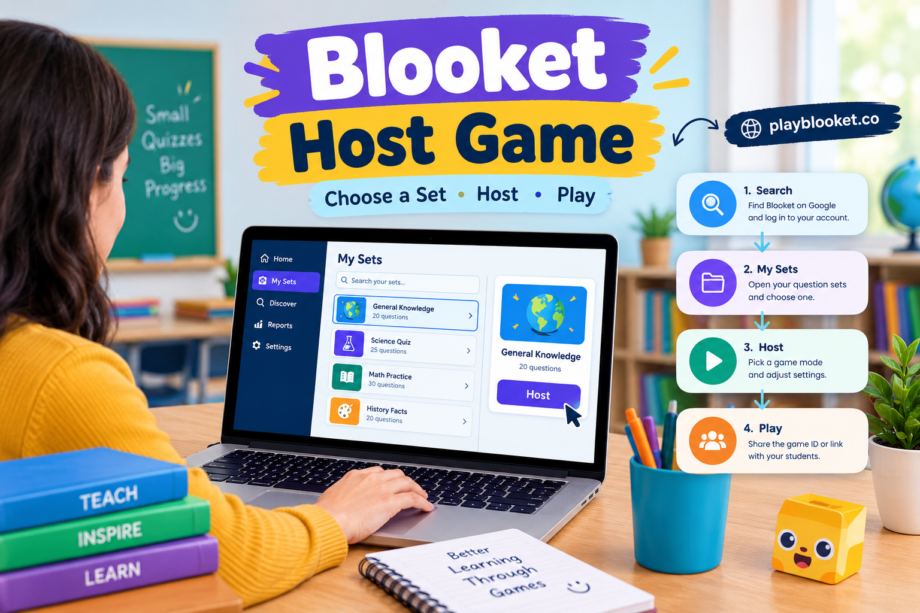
Starting a Blooket host game does not have to be complicated. Once your account is ready and you have a question set in mind, the process is fairly straightforward. The first important step is simply getting into Blooket and locating the set you want to use.
Blooket combines quizzes with game-style activities, which makes it useful for teachers who want something more interactive than a traditional question-and-answer session. The platform allows users to choose existing question sets or work with sets they have created themselves.
Start by Finding Blooket
Open Google and search for Blooket. Choose the official Blooket website and log in with your account. If you are new to the platform, Blooket also provides an option to create an account before getting started.
After signing in, you will arrive at the area where your Blooket activities and question sets can be managed. Having your account ready before class saves time, especially when you are preparing to start a live activity.
Open the “My Sets” Section
Once you are logged in, look for My Sets. This section is useful when you want to access question sets that you have already created or saved.
Think of My Sets as your personal collection. Instead of searching through the entire Blooket library every time you want to play, you can return here and find the material you have prepared previously.
If you do not have a suitable set, Blooket also allows you to explore sets through its Discover section. The official teacher guide explains that users can search available sets by topics, grade levels, skills, or standards.
Choose a Set for Your Blooket Host Game
After opening My Sets, browse through your available quizzes and select the one you want to use. Before hosting, it is worth quickly checking the questions and answers. A short review can help you catch an outdated question, spelling mistake, or answer that needs changing.
When you open the selected question set, Blooket provides a Host option. From there, you can choose a live game mode and continue with the hosting setup.
What Happens After Clicking Host?
Selecting Host moves you into the game setup process. Blooket currently offers several live game modes, giving teachers different ways to use the same question set.
After choosing a game mode, you can adjust the available settings to suit your activity. Depending on the setup, options can include a time limit or goal and whether students can join after the game has started.
When everything looks right, select Host Now. Blooket then provides the information students need to enter the session, including a game ID, QR code, and join link.
Getting Students Into the Game
Once your Blooket host game is ready, share the joining information with your students. They can use the Blooket play page and enter the displayed game ID, scan the QR code, or use the join link if you have shared it with them.
You can wait until everyone has joined before starting the activity. When the class is ready, click Start and let the game begin.
Why the My Sets Step Matters
It may seem like logging in and opening My Sets is a small part of the process, but it makes hosting much easier. Teachers who regularly use Blooket can keep their prepared quizzes organized in one place rather than rebuilding or searching for the same material repeatedly.
The real advantage is preparation. If your question set is already finished, the path from logging in to launching a live game becomes much shorter.
Final Thoughts
A successful Blooket host game starts with a good question set and a few minutes of preparation. Search for Blooket, log into your account, open My Sets, and select the quiz you want to use. From there, choose Host, pick a suitable game mode, adjust the settings, and launch the session.
The process is simple enough for regular classroom use, while the game-based format gives students a more active way to work through questions. With your sets organized ahead of time, starting the next Blooket activity can be quick and hassle-free.
